Skip to Content
FDIC FDIC-Insured - Backed by the full faith and credit of the U.S. Government
Bill Pay Upgrade

Bill Pay is now live with an upgraded experience and new features. It's all located within United Online and Mobile Banking and allows you to link your bills to your bank account, send your checks electronically, and make payments all in one place.

Your existing e-bills were not transitioned to the upgraded Bill Pay platform. Please re-enter the necessary e-bill information in the upgraded Bill Pay system.
 

send and deliver dates for bill pay

Bill Payment Timelines

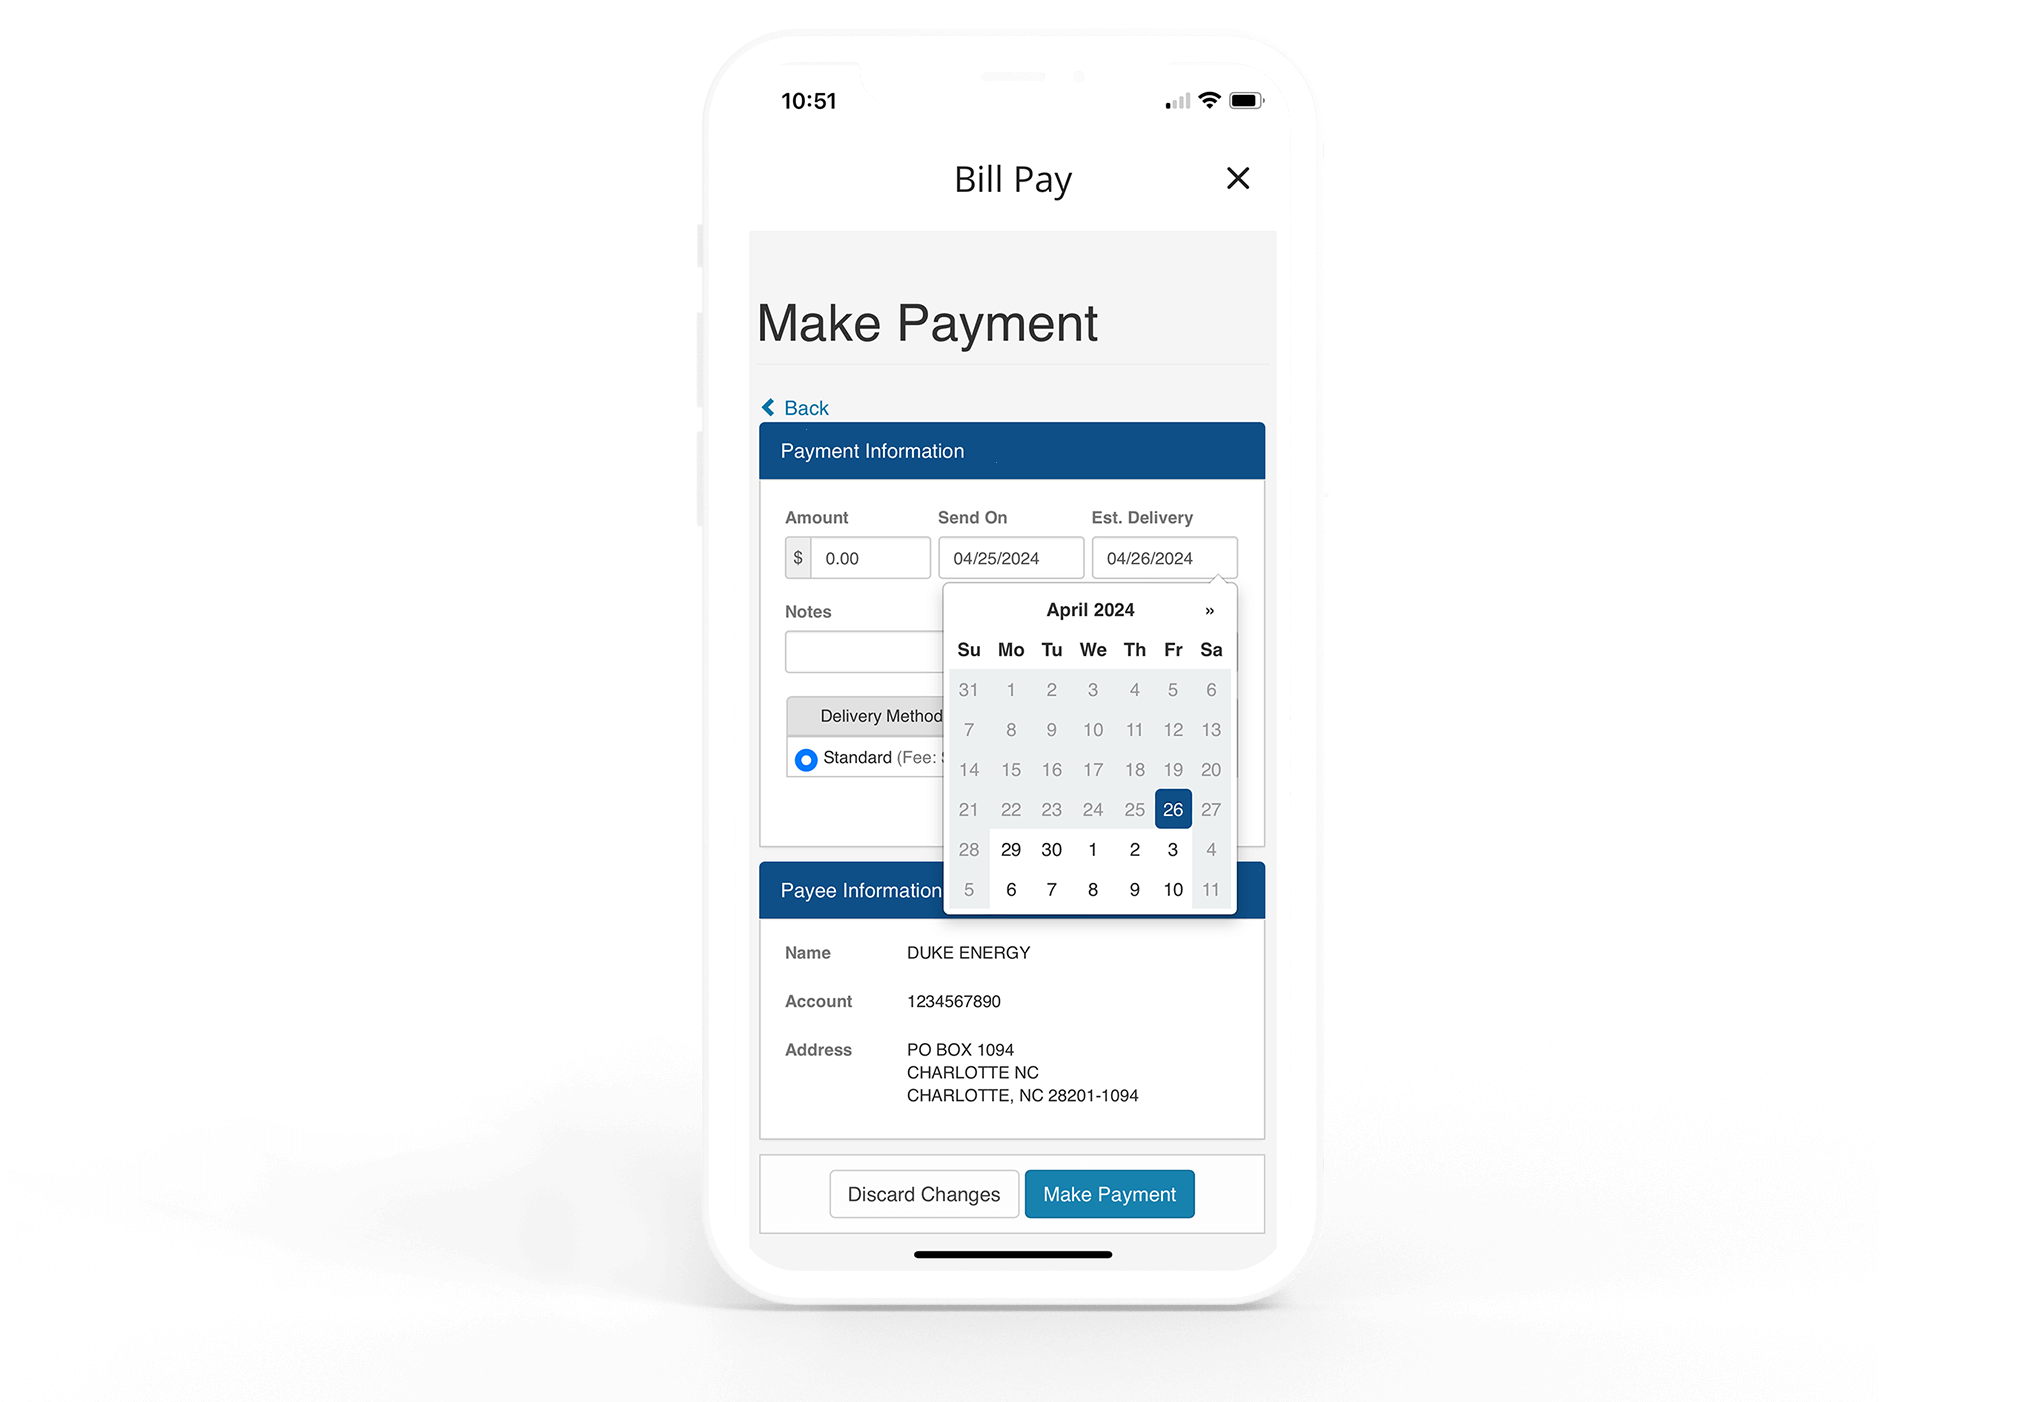
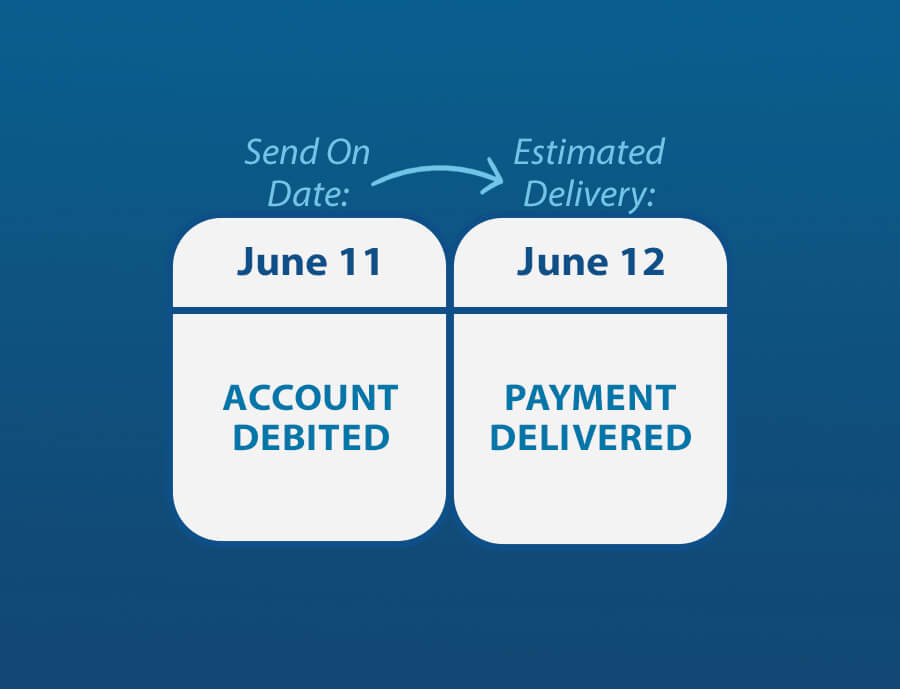
Within Bill Pay, your electronic payments will be withdrawn from your account on the “Send On” date. The “Send On” date is one business day before the payment, or delivery, date.

So, if you decided to send a payment today, your account would be debited immediately, and your payee would receive your payment tomorrow (or on the next business day). If you had a monthly recurring or future-dated payment scheduled for today, your account would have been debited for the payment yesterday (or the most recent business day before today).

For check payments, your funds will not be debited from your account until the check clears.

Frequently Asked Questions

Your payments will be sent electronically or by check.
Yes, you can! View this digital demo to learn how to set up an autopayment or recurring payment.
View the digital demo for a step-by-step walkthrough or follow these instructions below:
  1. Select a Payee
    • Click 'Pay Bill'
    • Enter an amount
    • Choose a delivery date
    • Enter note/memo (optional)
    • App a picture to the payment (optional)
    • Select a delivery method
      1. Electronic
      2. Check
    • Tap the 'Make a Payment' button
    • Review the payment
    • Click 'Submit Payment'
    • You will see a confirmation message
    • Click 'Done'
  2. Click on Get Started Here
    • Click on 'Pay with Picture'
      • Follow steps a-ii through a-xi.
    • Click on 'Pay a Person'
      • Follow steps a-ii through a-xi.
View the digital demo for a step-by-step walkthrough. 
 
  • Scheduled Paper Check Payments: These can be edited up until they are processed after the cut-off time at 5 pm EST. View a step-by-step demo here.
  • Electronic Payments: Electronic payments can be edited until the funds are collected from the customer’s account. After the funds are collected, the payment must be canceled, and the full amount transferred back into the account to make any changes. On business days, the amount is usually pulled within 10 minutes. On non-business days, the amounts are not pulled until the next business day when processing starts again. View a step-by-step demo here.
The bill will have an icon that looks like a lightening bolt next to it.

bp-edited-copy.png
The bill will have an icon that looks like an envelope next to it.

bp-edited-copy-2.png
Your payment history will be available by August 2, 2024.
The 'X' button closes out Bill Pay and returns you to Online Banking. To navigate to the home Bill Pay screen or another area of Bill Pay, click the 'Get Started Here' button on the top left and view the dropdown options.
The 'Get Started Here' button on the top left is a dropdown box that gives a menu allowing you to go back to the main Pay Bills screen or another area of the bill pay system.
Yes, we aim to carry over all payees. Some inactive payees may not convert, however, so check your payees when our new features roll out to make sure all of yours are still in your account.
No, your existing e-bills will not be transitioned to the upgraded Bill Pay platform. To ensure a smooth transition and to avoid any disruption to your bill payments, we strongly recommend that you capture the necessary information from your current e-bills. This will ensure you have all the details needed to set them up again in the new system.

What You Need to Do:
1. List Your Current E-Bills:
  • Identify all the e-bills currently set up in your Bill Pay account.
2. Capture Key Information:
  • For each e-bill, please record the following details:
    • Biller name
    • Account number with the biller
    • Billing address
    • Payment amount and due date
    • Biller's website and login details, if applicable
3. Re-enter E-Bills in the New Platform:
  • Once the new Bill Pay platform is live, use the captured information to set up your e-bills again.
View the digital demo for a step-by-step walkthrough or follow the steps below.

At the top of the page, there will be an 'Add a Payee' option.
  • Click Add Payee
    • If using the mobile app, will have the options to Pay with Picture, Document Vault, or Add Payee.
  • Search for and select Biller or choose 'Add Manually'.
    • There is also a search by category option.
  • Enter your account information.
  • Click 'Add Payee/Create Payee' button.
Yes.
Create a second payee for the other payment. 
Your landing page will default to show your recent payees. However, there will be an option at the top of the page to switch the view to ‘All Payees.’
To the far right, you will see 'Scheduled Payments' and 'Recent Payments'. This is a quick view.

To view all history, click on 'Get Started Here' then 'View Payments'. There will be a filter option for easy viewing.
There will be a leaf icon next to the payee and an option to sign up for e-billing or be reminded later.
  1. Account details
    • Current Bill
    • Minimum Payment (if applicable)
    • Last payment
  2. Latest bill
    • Most recent statement from payee
  3. Bill history
    • Displays list of bills with payee; this access is after linking/signing up with e-bills.
  4. Notifications
    • The user can check the email/text boxes next to any notification which they would like to receive.
      1. Payment Due Reminder
      2. Payment Due Today
      3. Payment Past Due
      4. Payment Scheduled
      5. Payment Posted
      6. Balance more than
  5. Sync Biller
    • Display information about the current status of as your Biller updates.
  6. Cancel e-bill link
    • This cancels the b-billing for the payee. It will ask you to confirm. User will have to click 'YES' to confirm unlinking from e-Billing.
The date we send the payment for a check and the date we debit the funds for an electronic payment.
The date the payment should arrive to the payee.
It must be a United Community account within your online banking. 
There will be an “X” at the top of the page to close Bill Pay. It will reroute you back to your online banking account summary page.
Yes, 16 minutes.
Yes, it tracks the check from when it is printed to when it is sorted for delivery (leaving the last post office).
Yes, and you can choose between two options
  • Standard US Mail. This is a two day option.
  • Expedited Mail. This is the overnight option.
Yes, $25.00. 
Yes, you can do so as a pdf, excel document, or CSV. They can sort and filter as needed.

Current United Customers

If you have a question regarding your account, a transaction, or your online or mobile banking, we recommend you contact us through the following secure options during our hours of operation.


Call us at 1-800-UCBANK1 (1-800-822-2651).
Chat with us by logging into online banking and selecting "Chat" from the menu bar.
Securely email us by logging into online banking and selecting "Message" from the menu bar.

External Link Disclaimer

You are leaving United Community and being directed to a third-party site that is not maintained, owned or operated by United Community Bank. United Community does not control and is not responsible for the privacy or security practices of the third-party. By clicking “Accept,” you are requesting to be transferred to the third-party website. If you do not want to visit the page, you can close this page by clicking "Return To Site”.

Non-deposit products: are not insured by the FDIC; are not deposits; and may lose value.